Selectors can be a pain for beginners to understand, I know it was for me. This blog will help fellow learners to properly understand the different selectors present and syntax that can be used to select a particular element. Here are some of the selectors that you will use a lot as a beginner:
1. Universal Selector
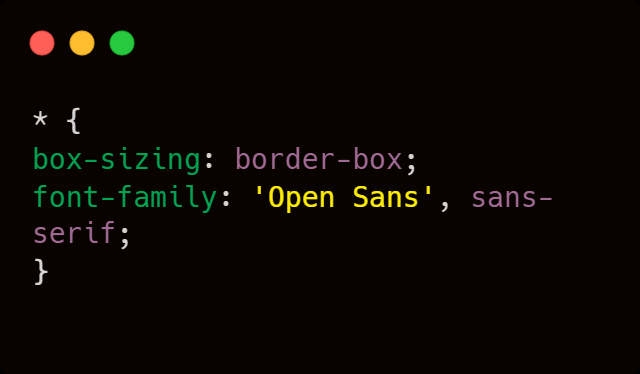
Universal Selector selects all of the elements present in the html. It does not select the pseudo classes and elements (:after, :before and :hover). It is suggested to use as less as possible. It is better to use selectors that are more specific. Can be used for applying box-sizing or font properties.
2. Type Selectors
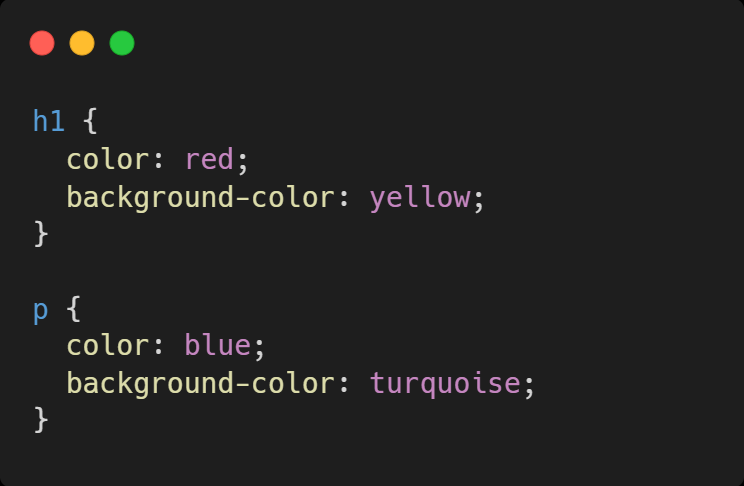
These types of selectors are used to select elements by using the tag name that is used to wrap the element. Just write down the name of the element and then write its properties that you want.

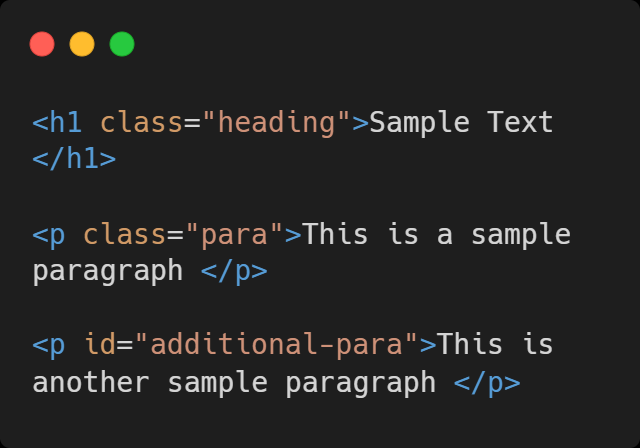
3. Class and ID Selectors
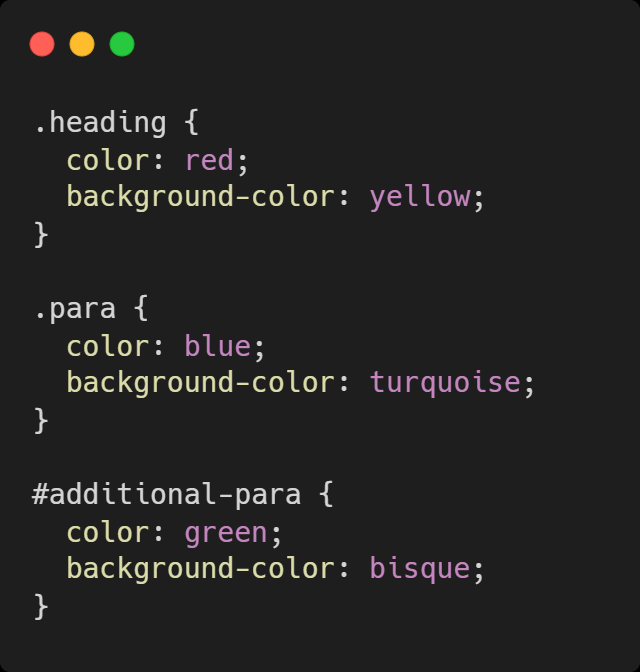
The elements are given class name and an id to select particular element. The class name can be common for multiple elements but the id is unique to each element even if it is of same type. The class name is selected by writing a “.” In front of class name whereas for selecting an element with a specific id, “#” is used. Also, ID has higher specificity than class, that means if the same elements are selected using class and ID, properties defined in ID will be executed.

4. Attribute selector
These selectors are used to select elements either based on an attribute or on values assigned to them. Some different ways of selecting attributes are:
- element[attribute]: This will select only element that has
attribute mentioned in bracket. In below example, this selector will only select the middle element
of "img" tag that has alt attribute.


- element[attribute= value]: This selects the element that has
specified value of the mentioned attribute. In below image, this selector will only work on the
first element that has “_blank” value for target attribute.


-
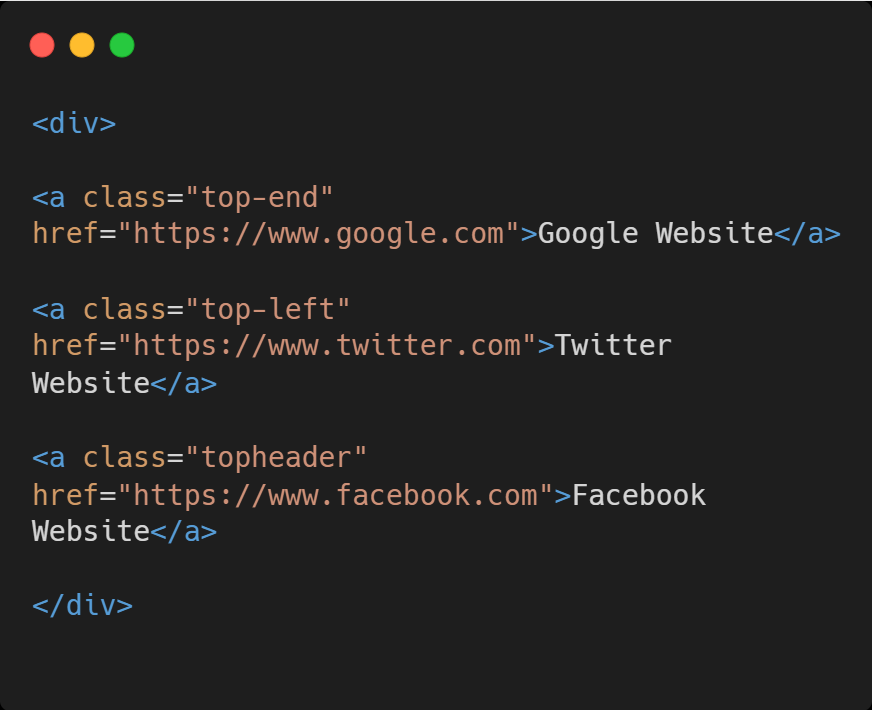
element[attribute|= value]: It selects elements that start
with the value. For e.g.:
a[class|= top] will select link(a) element that contains class attribute that starts with top value.
The top needs to be a whole word or followed by “-", only
then it will get selected. Here only first and second will get selected.
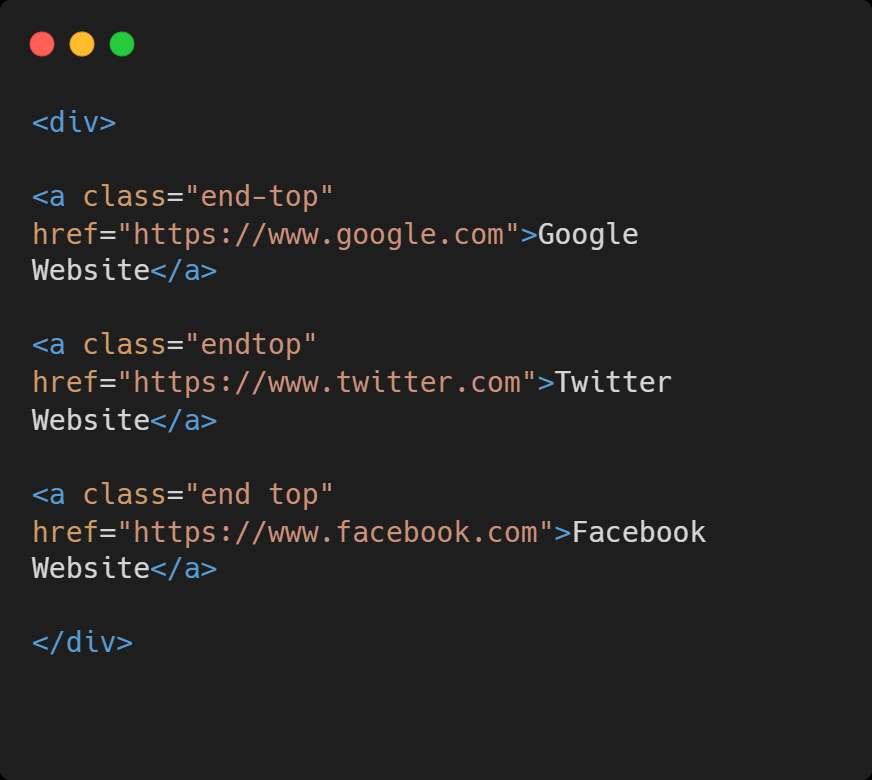
- element[attribute^= “value”]: selects element whose attribute begins with value. a[class^= top]. From the above image, all three elements will get selected as they are starting with the word top.
-
element[attribute$= “value”]: selects element whose attribute
ends with value. a[class^= top]. In below example, all three elements will get selected as they are
ending with the word top.
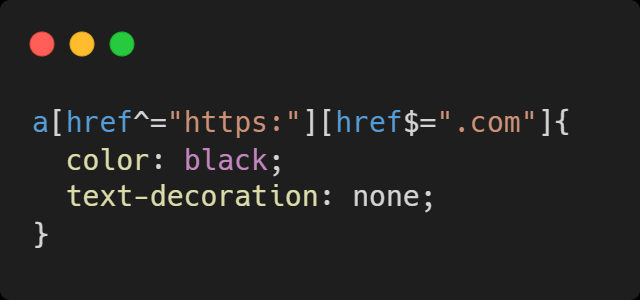
If we combine above two operators, we can use it for selecting elements that start with a particular value and end with another one. Here it selects element that have href attribute that starts with “https:” and end with “.com”
-
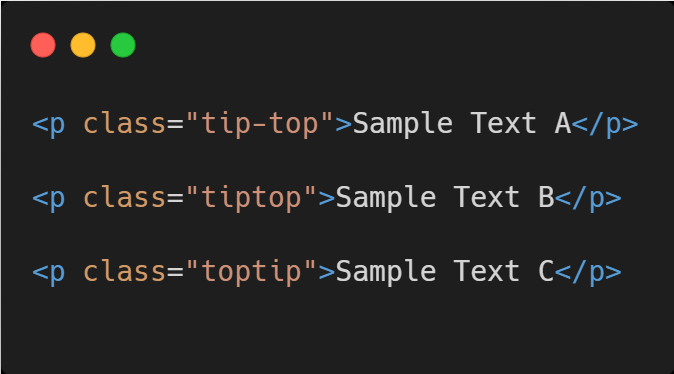
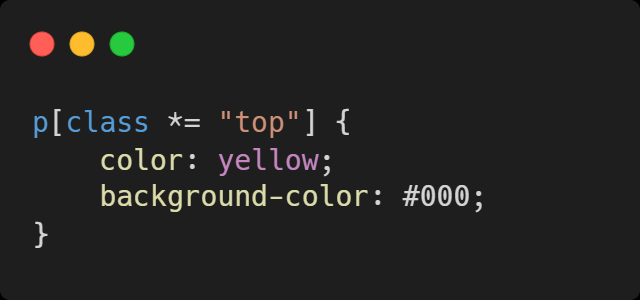
element [attribute*= “value”]: Selects elements that contain
the word “value”. In below example it selects elements that contain the word “tip” in class
attribute. It will select the word even if it is not separated,, the word within " " must be
conatined in the attribute's value. Hence all three elements will get selected.
5. Pseudo Class Selectors
":nth-child(n)" and ":nth-last-child(n)" are some of the important pseudo class selectors that you will use as beginners.
element:nth-child(n) selects every element that is nth child of its parent. Like div:nth-child(3), means all the div element in your html that are 3rd children of their parents will get selected, even if it is in body and not in other container. If we write odd and even instead of “n”, it will select the odd/even elements.
element:nth-last-child(n) does all of the same things, it just counts from the last.
These were all of the basic selectors that will help you write better CSS and select appropriate element based on your situation, if you want to learn more about selectors you can visit here. Thank you for reading